Thursday, July 23, 2020

Coconut tree in resist - watercolour.


Greetings! 
Who doesn't love the sight of coconut trees swaying by a sandy beach? I know I do. Let's take a trip to the tropics and paint a beautiful Coconut tree in resist watercolour!

Fun-fact, did you know, every part of the coconut tree is useful  to humans? In India it also called, 'Kalpa-vriksha' or wish-fulfilling tree. The coconut gives us oil, the exterior of the nut gives us coir, from which we can make strong rope, its fronds can be used to make a thatched roof and so on. Now that we know a little about this giving tree let's begin our art project!

Coconut tree in watercolour resist.

You will need
• Paper ~ an absorbent and thick paper is always good for watercolours. I'm using a half-imperial or A5 size sheet.

• Pencil to draw

• Oil pastels or if you have wax crayons that's ok too

• Watercolour cake box or tubes

• Brush, a no.6 or 7 will do.

•Bowls, I always suggest two, one for cleaning the brush, one for mixing paint.

• small cloth or paper towel for wiping brushes and mopping spills and messes made by little hands.

1) Draw your Coconut tree big enough to cover most of your paper.
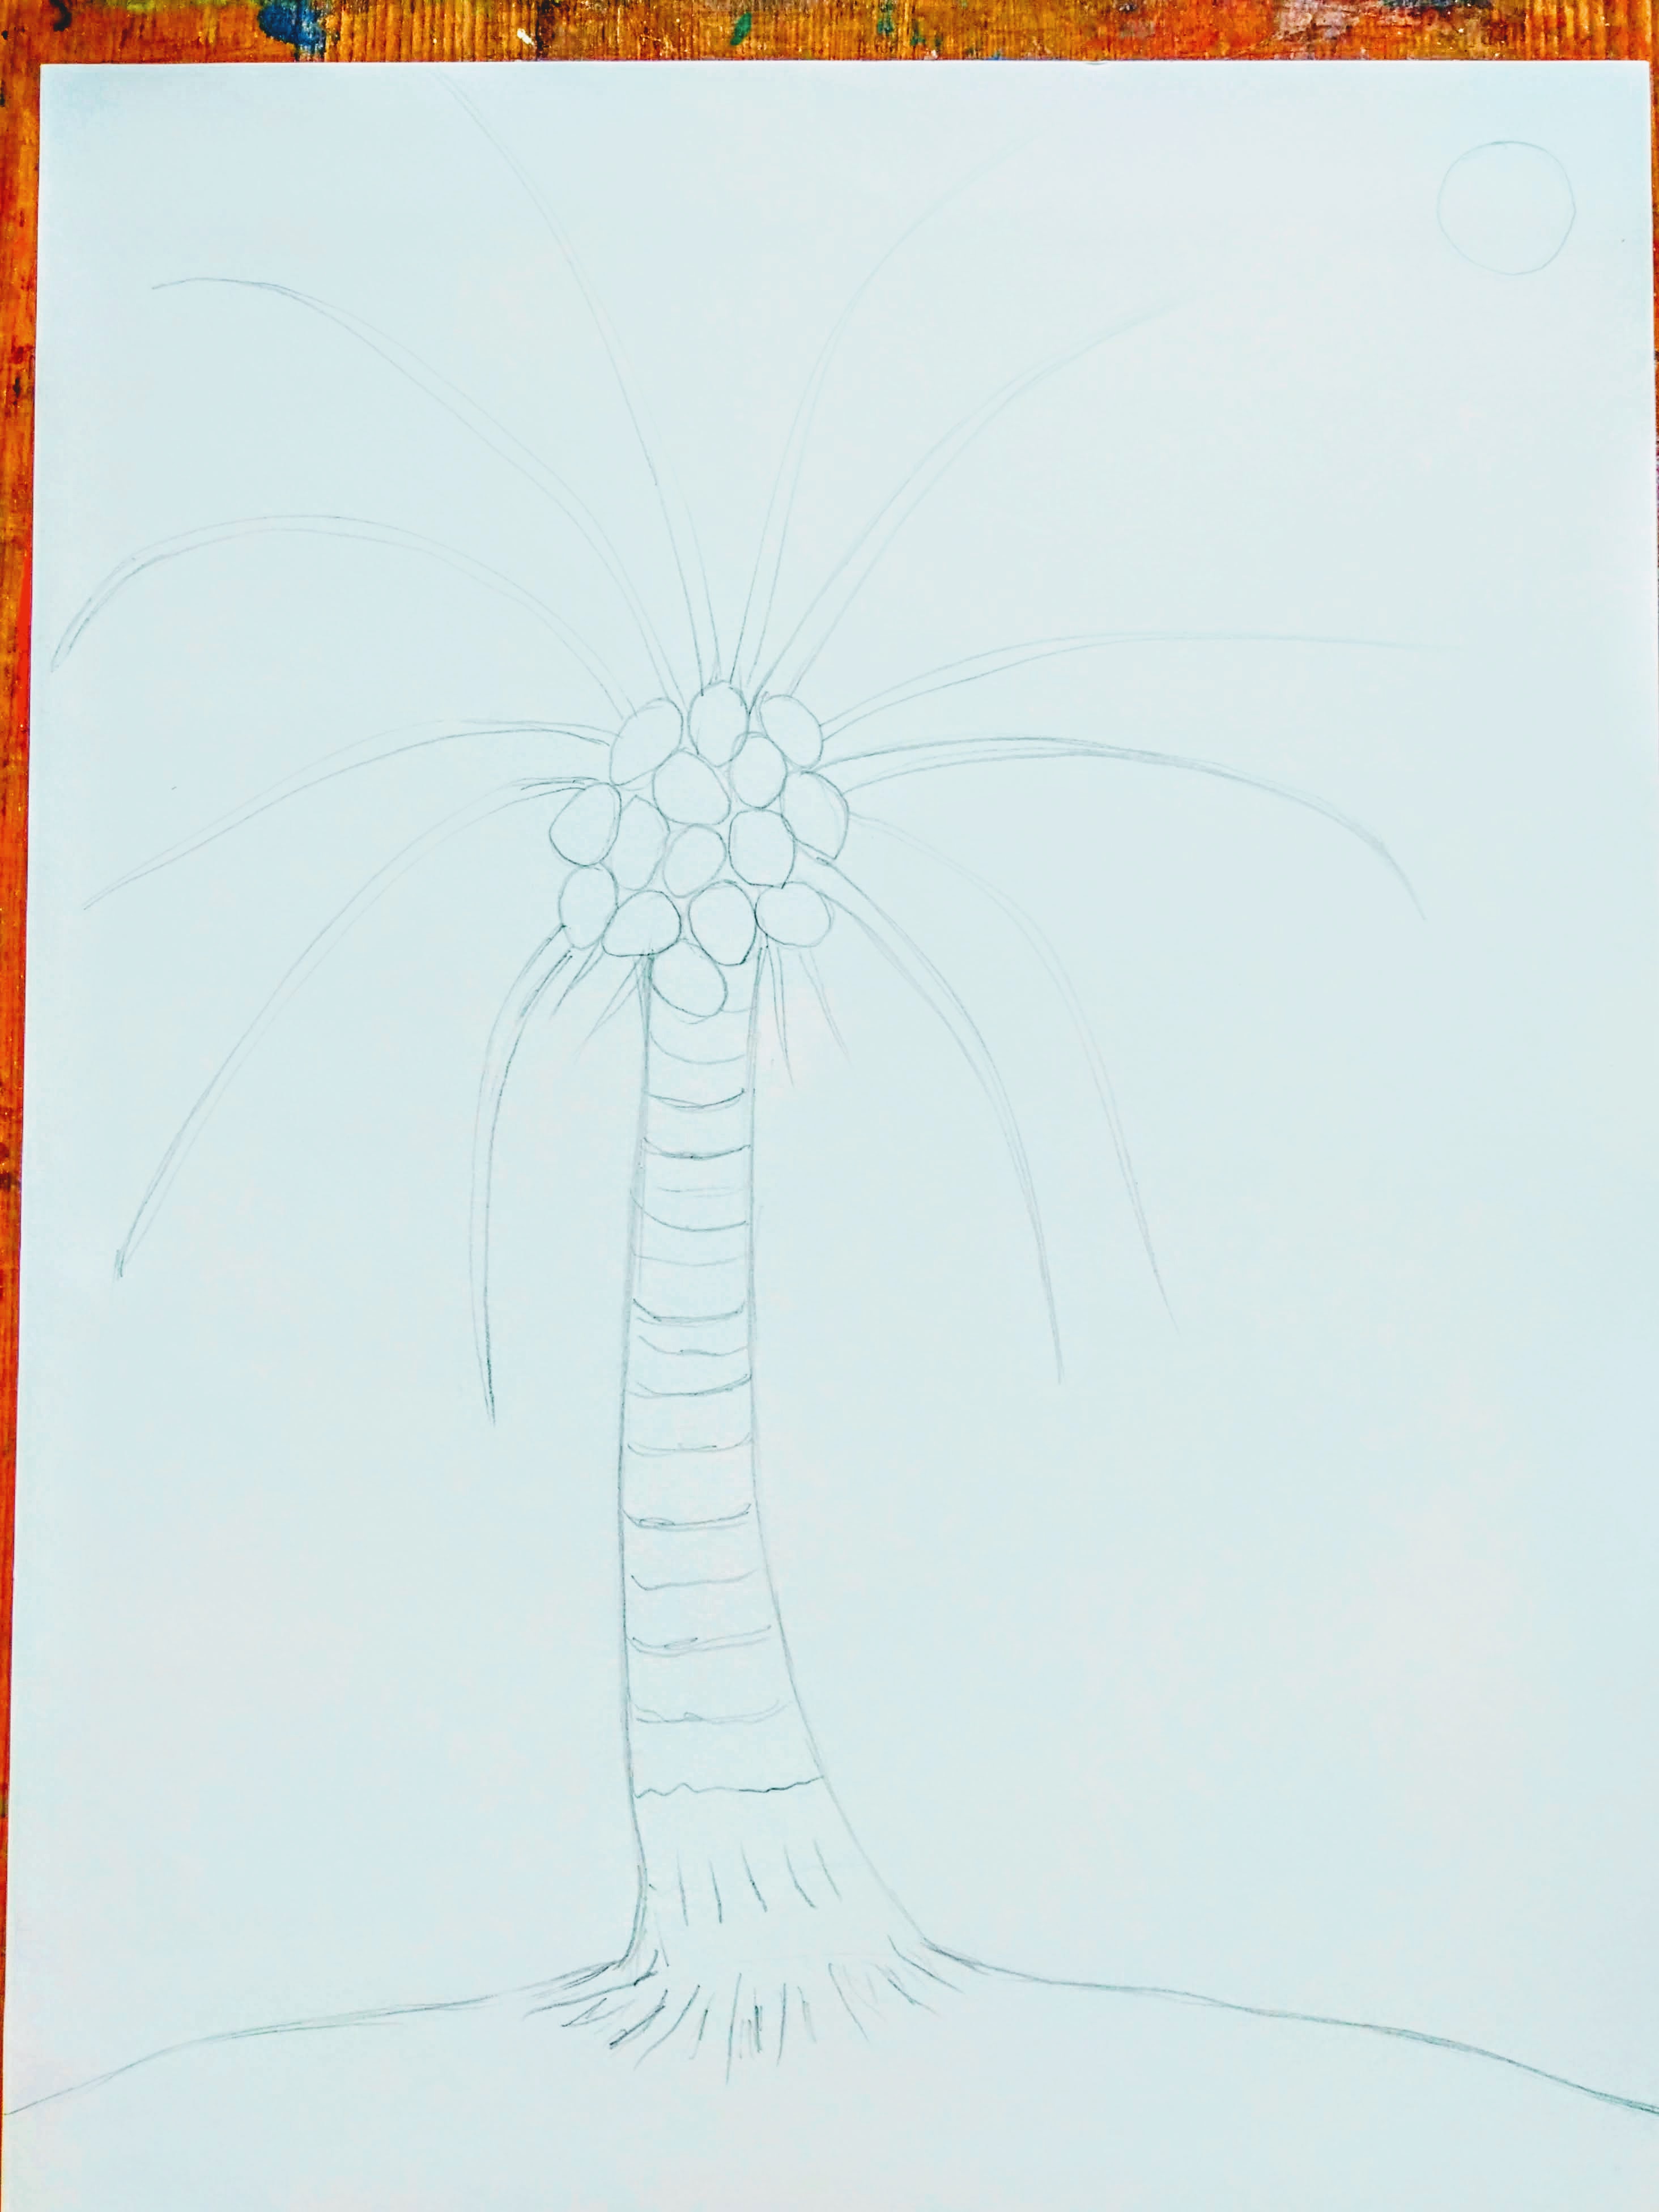


2) Tracing your drawing in oil pastels~ Trace with colourful oil pastels  or  use only white. This art lesson is a resist method, meaning, when we  paint it will not adhere to the crayon lines, thus  creating a very interesting effect!


3) Painting ~
• Wet your brush, using only water, brush the entire surface of the paper, taking care not to make it soggy.


• Begining with the fronds of the tree, paint with watercolours. Since the paper is wet, the colours will spread easily and bleed into each other. This method is called wet into wet.


• I've used light and dark green in the fronds, magenta for the evening sky, and a purple, cobalt and cerulean for the water, browns with a bit of crimson for tree trunk, earth and of course yellow for the sun


Allow your paper to dry and voilà, your Coconut tree in watercolour resist is done! 

Time to take a look at this week's little artists ☺️ 


Hope this lesson is helpful especially to anyone looking for art activities to do at home during this pandemic or for your virtual classroom.  Be safe and well, and do check out my other art lessons, please say hello in the comments, or email me, if you have any requests. I am always thinking of what to teach next and ideas are always welcome. 

See you in another post!
~Sabrina.


Monday, July 13, 2020

Rainy Day, Memory Drawing.

This is a Memory Drawing Art Lesson, the topic is Rainy Day. It has two figures, a girl holding an umbrella nad and a crouching  boy releasing a pape boat into a puddle, he is wearing a raincoat.

The monsoon brings fresh greenery, puddles for kids to stomp in and lots more. The rains are also when the new academic year begins and I vividly remember from my own school days,  doing  Rainy day as an art lesson. Well here we are after many many years and it is still a fun  lesson on season as well as a good memory drawing exercise. This can be easily done by children above the age of 7 and above. 

Let's begin, you will need 


• Paper, I'm using a half imperial size sheet, or A3. 

• Pencil, eraser,
• Sketch pen- black or brownr
• Oil pastels. 

1) Composing~ With the help of this simple grid you can see that the girl is placed a little off-centre to the right, and the child, with the paper boat is to the left.


Rainy Day art lesson

2) Drawing the figures ~  Begin with the standing child, holding an umbrella. By altering the hair, you can draw either boy or a girl. 

Draw her raincoat, its pockets and buttons


Draw the rest of the girl (or boy), wearing a raincoat, and what we call in India gum boots, leave me a comment, telling me what they are called where you live!
Let's draw the second child who is about to float a paperboat. Draw his back in a continuous line, from the hood down, adding his hands, legs and finally connect limbs with belly. His face peeps in just a bit under his hood, as we are seeing him from the side.


Draw in easy steps, a boy in a raincoat crouching, and about to float a paper boat.


3) Background~ Draw a puddle, the one nearer to them is bigger and the one farther away from them is smaller, follow the same when drawing the trees. Draw a horizon line, adding a hedge.

The completed of drawing before colouring of a Rainy Day.


4) Colouring ~ With a black or brown sketch pen trace over your pencil drawing. A sketch pen will look bold whereas a brown one will soften the edges, appearing more natural. Once you've done that, lay out your oil pastels, feel free to colour your picture in colours you prefer, but keeping it looking realistic.


Oil pastels are really soft and great for blending, use medium and  dark browns for the  barks of trees, light and dark greens on the grass and tree canopies. I have used grey in the top half of the sky with a medium blue till the horizon.

Completed Rainy Day Memory Drawing, with girl holding an umbrella, a boy in a yellow raincoat about to float a paper boat in a puddle. They are in a park, it is raining.

The last and most enjoyable part is making dashes for raindrops all over your paper with a deep blue crayon or how else would it be a rainy day? 😊 and don't worry you are not going to ruin it, it's fun!
Tada! There you have it, a Rainy Day  !

If you like this art lesson leave me a comment, share this art lesson with your friends and family, if you are on Instagram, share your artwork with the #brushesandcrayons

In today's gallery we have 7 year old Pranet.

The art lesson has been done by a seven year old child.

This blog is still growing in content, and I hope to put out more this July, until then you can check out the previous post on Sun-Moon Scratch Art

Hope this lesson was helpful, see you in another post!

~ Sabrina.

Monday, June 29, 2020

Sun and Moon Scratch Art


When the Annular Solar Eclipse took place this June, it got me thinking about making a Sun and Moon scratch Art Lesson. The process of making scratch art takes a little time, but the results are always beautiful. Once you learn, how to prepare your own Sratch sheet, there are endless possibilities to what you can draw. Children ages 4 and upwards can easily do this art project.

Let's begin!

You  will require ~

• a sheet of paper

• pencil for practising your Sun-Moon on another paper

• crayons, oil pastels

• black acrylic paint or black poster colours (optional)

• a scratching tool, if you don't have a wooden one, you can use a toothpick or an old ball point pen. Use your creativity and find a tool that serves the purpose, but is not sharp.

1.Take your sheet of paper and fold it in half, next open it up, your paper wil now be divided in two parts.

               
2. On your left half make coloumns of red, orange and yellow, the fiery colours of the sun. Take your time, as you colour, leaving no white from the paper showing through.

               
3. On your second half of the paper, for the Moon, colour with blue, green and purple. As before, taking care, not to let any whites show. When finished, the paper will be rainbow hued.


4. Next, we have to cover the entire paper in black. If you are using crayons, make sure all of the colours underneath are covered in black evenly.  If you choose to use either acrylic or poster colours,  you can apply it in two coats. In case you find the paint isn't adhering too well, mix in just a bit of dishwashing liquid. Younger children will need help from a grown-up, to set up the paint, water and brushes.

I have used acrylic paint, you can use crayons too.
 
Mine looked like this and needed another coat of paint. You can do the same if you find your paper needs more coverage.

5. After applying a second layer of paint, allow it to dry completely. Meanwhile, take a pen or pencil and practise drawing your Sun-Moon on another paper. This is the sketch I made.

6.Now comes the fun part. Using a round object like a lid or small saucer, trace a circle in the centre of with your scratching tool. With the help of the drawing you made earlier begin etching out the faces of the Sun-Moon inside the circle. Etch in pointy triangular rays for the Sun and
curly ones for the Moon. I also added swirls and diamonds.
If you wish to correct something, simply take a black crayon and cover that part up, and scratch again.


Tada! and we're done. Take a look below, at the art-works by children, done remotely from their homes. Some are by my art students and some are from my daughter's class in school. They are all between the ages of
 4 -7 yrs. Their parents kindly sent me these photos. 
Aren't they all beautiful? Do try this Sun-Moon Scratch Art and  Please share on Instagram with  #brushesandcrayons. Stay safe, be well and see you in another post ☺️
~ Sabrina